C
a
r
l
s
C
o
m
p
u
t
e
r
- 7.00 to 7.00 (Mon_Sat)
-
Mail Us On
info@carlscomputer.com
-
Make a Call
310-684-9819
- Get a Quote
- 7.00 to 7.00 (Mon_Sat)
- Mobile services in Los Angeles
-
Mail Us On
info@carlscomputer.com
-
Make a Call
310-684-9819
- Get a Quote
About Company
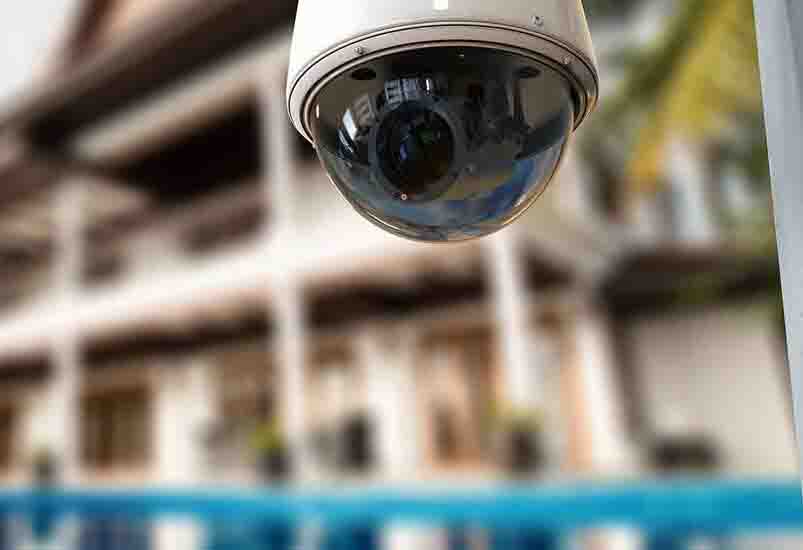
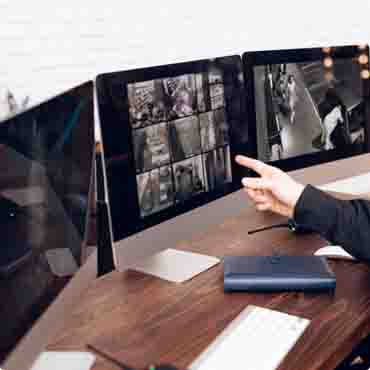
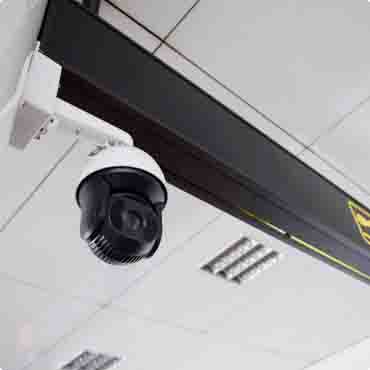
Unmatched CCTV & Monitoring Services in Los Angeles
20 Years of Experience Installing CCTV & Security Systems
Carl’s Computer is known for providing the best security system and CCTV installation services. We have been operating from Los Angeles and providing residential and commercial security solutions to our clients for over 20 years. Breaking into residential and commercial properties, theft, and lack of surveillance have been major security issues for a long time. Thus, we are here to solve the problem for you, with our ultimate security solutions. We at Carl’s Computer provide the best CCTV cameras with 4K recording and quality for the best utilization.
Our Services
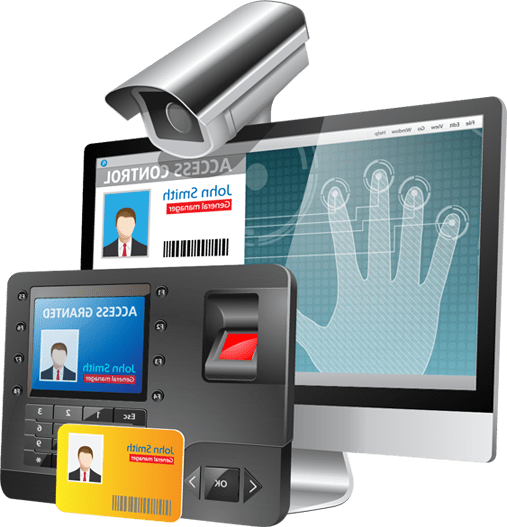
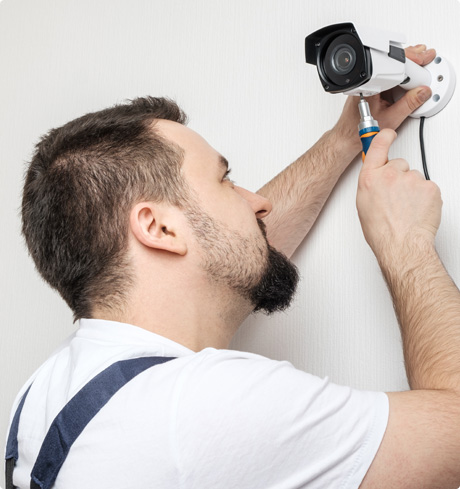
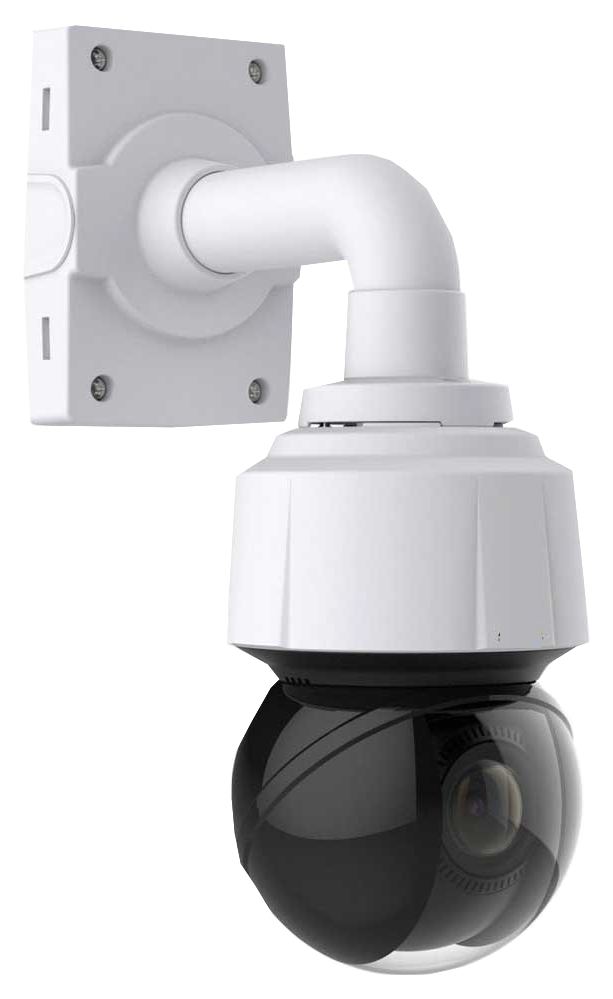
Video Surveillance and Security Systems Installation & Maintenance
Smart Integration
Office Monitoring
Intercom System
Repair & Maintenance
Residential Security
Business Security
Monitoring
Data-cabling
Smart Integration
Office Monitoring
Intercom System
Repair & Maintenance
Residential Security
Business Security
Monitoring
Data-cabling
What We Do
Custom Security System Installation and Maintenance
Reliable & Proven
We offer custom CCTV video surveillance system installation to our customers. We have proven ourselves to our customers by providing reliable service with 20 years of experience.

24/7 Support
Our support is available to our customers at their time of convenience. We are open to 24/7 support for our customers. If you require an emergency repair, call us at 310-684-9819.

View our Services in Your Area
Serving Clients in Los Angeles, San Pedro Harbor City, Hollywood, Beverly Hills, San Fernando Valley and Las Vegas Nevada. Call Us for a FREE ESTIMATE TODAY! 310.684.9819
How it’s Work
Get Started with us through these Simple Steps
Book an Appointment
This is the first step where we will be connecting in a meeting.
Determine your Needs
We take time to analyze your needs and expectations.
Take a Tour
We take a tour of your property to ensure that we meet your expectations.
Get a Quote
Finally, based on your needs our executives will give you a quote.
Our projects
Check out our Latest Endeavours

Night Vision Cameras
Night Vision Cameras
Night Vision Cameras
Outdoor Wiring
Night Vision Cameras
Night Vision Cameras
Night Vision Cameras
Night Vision Cameras
Night Vision Cameras
Outdoor Wiring
Night Vision Cameras
Night Vision Cameras
Testimonials
What others are saying about our services
Poral Dawson
CustomerI have the pleasure of dealing with carl's computer team for the past one-plus years. The team has been efficient, and very knowledgeable.

Miguel IT
CustomerWe do Tech support for small business. We subcontracted Carlos and his team to install some Security cameras and Ring Cameras.

Elwin Dawson
CustomerGreat work Carlos I’m happy with your job on doing my house Smart and doing all the cameras. Also thank you for giving

Cori Anderson
CustomerVery professional, great service, Friendly, answers quick, will definitely recommend to anyone who needs any cameras installed.

Poral Dawson
CustomerI have the pleasure of dealing with carl's computer team for the past one-plus years. The team has been efficient, and very knowledgeable.
Miguel IT
CustomerWe do Tech support for small business. We subcontracted Carlos and his team to install some Security cameras and Ring Cameras.
Elwin Dawson
CustomerGreat work Carlos I’m happy with your job on doing my house Smart and doing all the cameras. Also thank you for giving
Cori Anderson
CustomerVery professional, great service, Friendly, answers quick, will definitely recommend to anyone who needs any cameras installed.
Poral Dawson
CustomerI have the pleasure of dealing with carl's computer team for the past one-plus years. The team has been efficient, and very knowledgeable.
Miguel IT
CustomerWe do Tech support for small business. We subcontracted Carlos and his team to install some Security cameras and Ring Cameras.
Blog & Updates